


HEIC is efficient on Apple devices, but a website, form, or older app may still ask for JPG. The Mac already has several good conversion routes. The right one depends on whether the photo is in Finder, inside Photos, or part of a batch.
Best for a local file already on the Desktop, in Downloads, or a project folder.
- Select one or more HEIC files in Finder.
- Control-click, then open Quick Actions.
- Choose Convert Image, pick JPEG, and choose a size. The JPG lands beside the source.
Best when quality and destination matter. Preview estimates the file size as you go.
- Open the HEIC in Preview.
- Choose File, then Export, and set Format to JPEG.
- Drag the Quality control, watch the estimate, pick a destination, and save.
Best when the image lives in your library. Keeps a Live Photo in the right context.
- Select the photo in Photos.
- Choose File, Export, then Export Photo.
- Set the Photo Kind to JPEG with your quality and size. A JPG keeps only the still frame.
Best when the file is already moving. No Finder detour if it is in a Shelf or Basket.
- Drag the file to the Shelf, or hold it in the Basket.
- Choose the Convert Quick Action.
- Pick JPEG when it is offered. The copy is saved to Downloads and the HEIC is untouched.
Tap the place your image already lives to see the shortest route there. Each one keeps the HEIC and creates a separate JPG.
The fastest route is Finder Convert Image
Use Finder when the file is already on the Desktop, in Downloads, or in a project folder. Select one or more HEIC files, Control-click the selection, and open Quick Actions. Choose Convert Image, select JPEG as the format, then choose the image size you need.
Actual Size keeps the existing pixel dimensions. Smaller presets reduce the dimensions as part of the conversion, which can help when an upload has a practical size limit. That is a resize as well as a format change, so choose it intentionally. If you only need JPG compatibility and want to retain all available pixels, use Actual Size.
The converted file appears in the same Finder folder. This is convenient for an upload because the new copy sits beside its source. It also means a busy folder can gain several nearly identical names, so check the extension before dragging the result into another app. The .heic file is the source and .jpeg or .jpg identifies the compatible copy.
Apple documents the feature in its guide to performing Quick Actions in Finder. The exact actions shown depend on the selected file type and the Finder extensions available on the Mac.
Why keep HEIC if JPG opens in more places?
HEIC is a common filename extension for images stored in the High Efficiency Image Format. Apple uses the format because it can preserve comparable visual quality with better compression than JPEG. That is useful in a large photo library, where storage and iCloud transfer add up across thousands of pictures.
JPG has a different advantage: reach. Browsers, forms, document tools, old image editors, and non-Apple devices have handled JPEG for a long time. A JPG copy is often the least surprising file to hand to someone else. Compatibility is the reason to convert, not proof that the HEIC was defective.
Keeping both formats is often the sensible choice. Leave the HEIC in the photo library or archive, then make a JPG for the particular upload or handoff. Apple explains the format and automatic sharing behavior in its overview of HEIF and HEVC media on Apple devices.
| Need | Keep or create | Reason |
|---|---|---|
| Long term photo library | Keep the HEIC source | It retains the efficient original produced by the device. |
| Website or form upload | Create a JPG copy | JPEG is accepted by more upload systems. |
| Smaller pixel dimensions | Create a resized JPG | Finder can change format and dimensions in one action. |
| Editing and careful quality control | Export through Preview | Preview exposes a quality control and a chosen destination. |
Use Preview when you want control over quality and location
Open the HEIC in Preview, choose File, then Export. Set Format to JPEG, move the Quality control to the balance you want, choose a name and destination, and save. Preview shows an estimated file size as you adjust quality, which makes it more useful than a fixed preset when you are trying to fit a specific upload requirement.
Drag to feel how quality trades against size. The numbers here are illustrative; Preview shows the real estimate for your own photo as you move its control.
Quality and pixel dimensions are separate ideas. Lower JPEG quality increases compression artifacts. Reducing dimensions removes pixels. If an application asks for a maximum width, resize to that width. If it only asks for a smaller file, try the quality control first and inspect the saved image at normal viewing size.
Preview also works for a batch. Open the selected images together so they appear in one Preview window, select the thumbnails in the sidebar, then use the export command for selected images. Choose a destination folder before saving. This route is a little more deliberate than Finder, but it keeps a batch in one window and gives you a clear place for the results.
Apple's Preview export guide lists the image formats available through Export and explains that holding Option while opening the Format menu reveals specialized or older formats. For an ordinary HEIC to JPG conversion, the regular JPEG choice is enough.
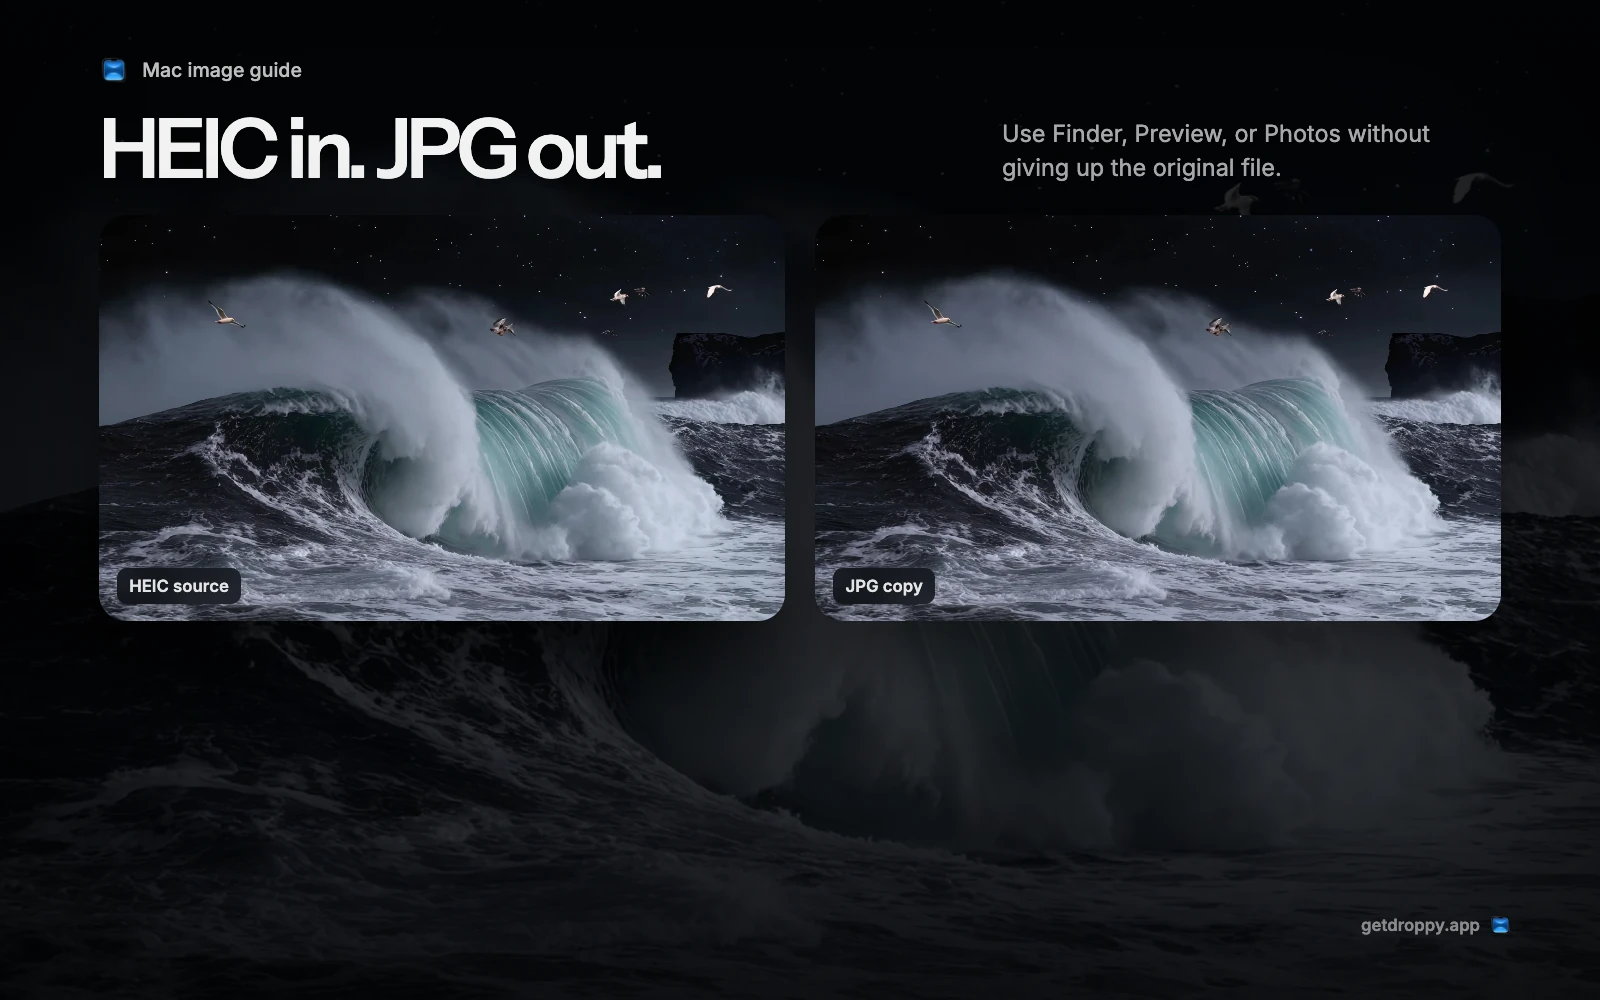
 HEIC source preview
 JPG copy
Use Photos when the image belongs to your library
If the HEIC lives in Photos, exporting from Photos is usually cleaner than first revealing a library-managed original in Finder. Select the photo, choose File, Export, then Export Photo. Choose JPEG as the Photo Kind and set the quality and size options for the copy you need.
Photos is also the better boundary for a Live Photo. A simple JPG is one still frame, so it does not carry the motion component of a Live Photo. Keep the item in Photos as the source and export the still copy for the service that needs it. Do not delete the library item because the JPG looks correct.
If preservation is the goal rather than compatibility, use Export Unmodified Original instead. That command is not a conversion to JPG. It gives you the original media held by Photos. Apple separates these paths in its guide to exporting photos and videos from Photos on Mac.
What to check when Convert Image is missing
First, confirm the selected item is an image and not a folder, package, or cloud placeholder that has not downloaded. Finder changes the Quick Actions menu to match the selection. A mixed selection can remove an action that would appear for one image on its own.
Next, open the Quick Actions submenu and look for Customize. Finder can hide or disable extensions, and the available actions can differ by macOS version. Re-enable the image conversion action there, then select one local HEIC and check again. Renaming an extension from .heic to .jpg is not a fix because it changes the label without changing the encoded image data.
If Finder still does not offer conversion, Preview remains the main built-in route. If Preview cannot decode the image either, make a duplicate before testing repairs and check whether the file opens on the device that created it. A damaged or incomplete file needs a sound source copy, not another conversion menu.
Convert from Droppy when the file is already in motion
Droppy adds Convert to the Quick Actions at the top of the screen. It is optional and most useful when a file is already being dragged to the Shelf or held in the Basket. Choose Convert, then pick JPEG when it is available for the current selection. The result goes to Downloads and the HEIC source is not overwritten.
A batch shows only formats supported by every selected item, then processes the files one at a time with completion progress across the set. This is useful for several HEIC uploads gathered in one place, but it is not required for a one-off conversion. Finder and Preview remain capable built-in routes. The separate guide to converting files from the top of your Mac explains Droppy's output rules and partial batch handling.
Choose the route that matches where the image is
Finder is fastest for a local file and a standard copy. Preview is best when quality, destination, or inspection matters. Photos keeps a library-managed image and Live Photo in the right context. Droppy removes a Finder detour when files are already in a Shelf or Basket workflow.
Whichever route you choose, verify the JPG before sending it and keep the HEIC until the handoff is complete. Open the copy, check its pixel dimensions if the recipient specified them, and make sure the filename identifies the version you intend to share. The conversion should solve compatibility without making the original harder to recover.